

Banner
Banner Optins are used to display CTAs across the top or bottom of your website.

Popup
Optin Fire Popups are used to interrupt the visitor and show a Call-to-Action
Flyout
Optin Fire Flyouts are used to deliver CTAs in the corner or edge of your website.

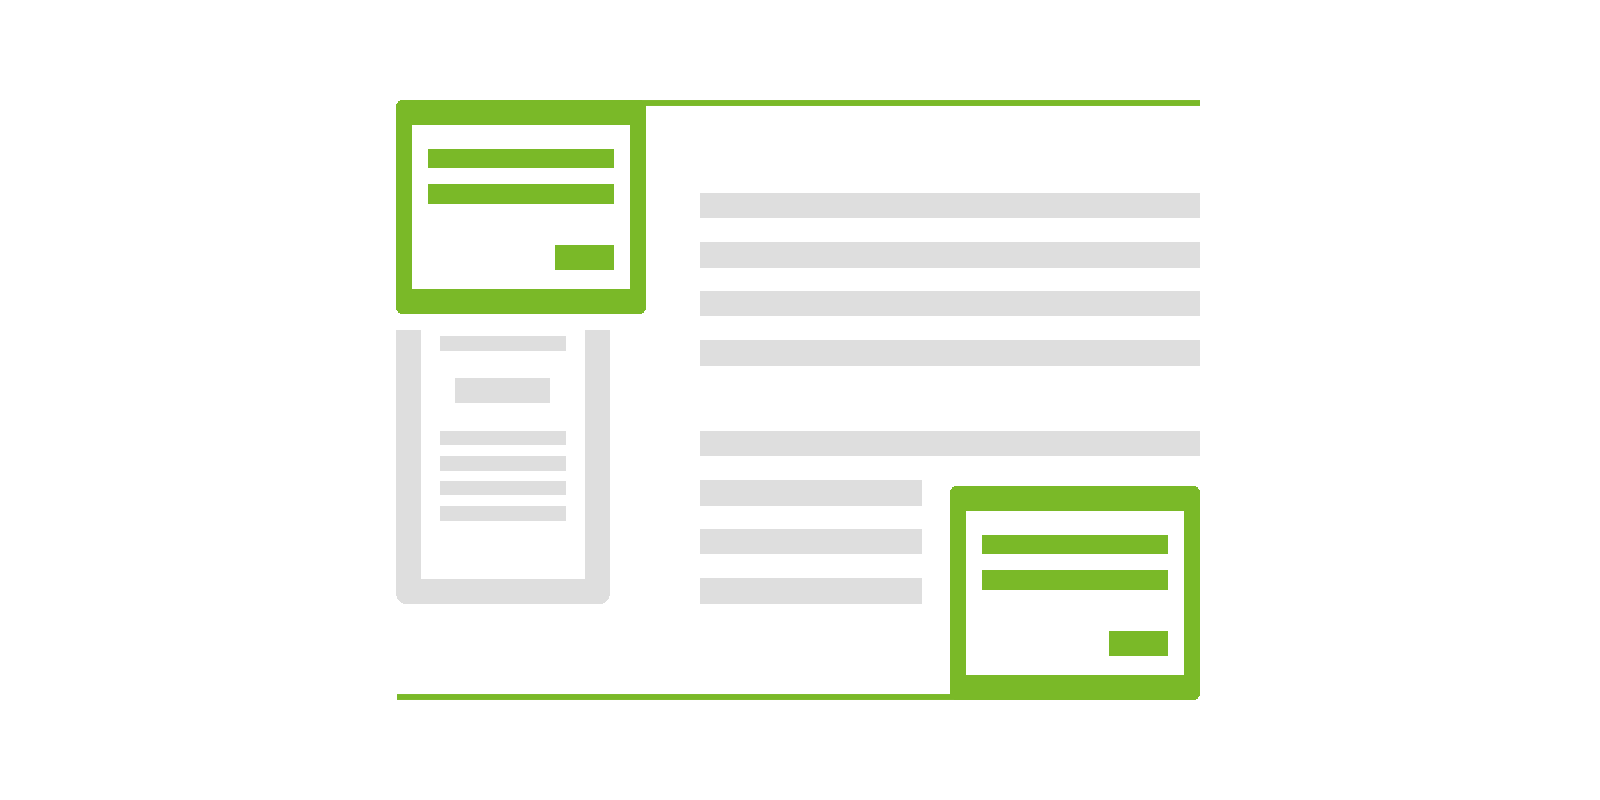
In-Post
Optin Fire In Post Content allows you to add CTAs directly into your posts and pages

Widget
Optin Fire Widgets are used to show CTAs in any sidebar or widget zone.